Appearance
NAS/Router
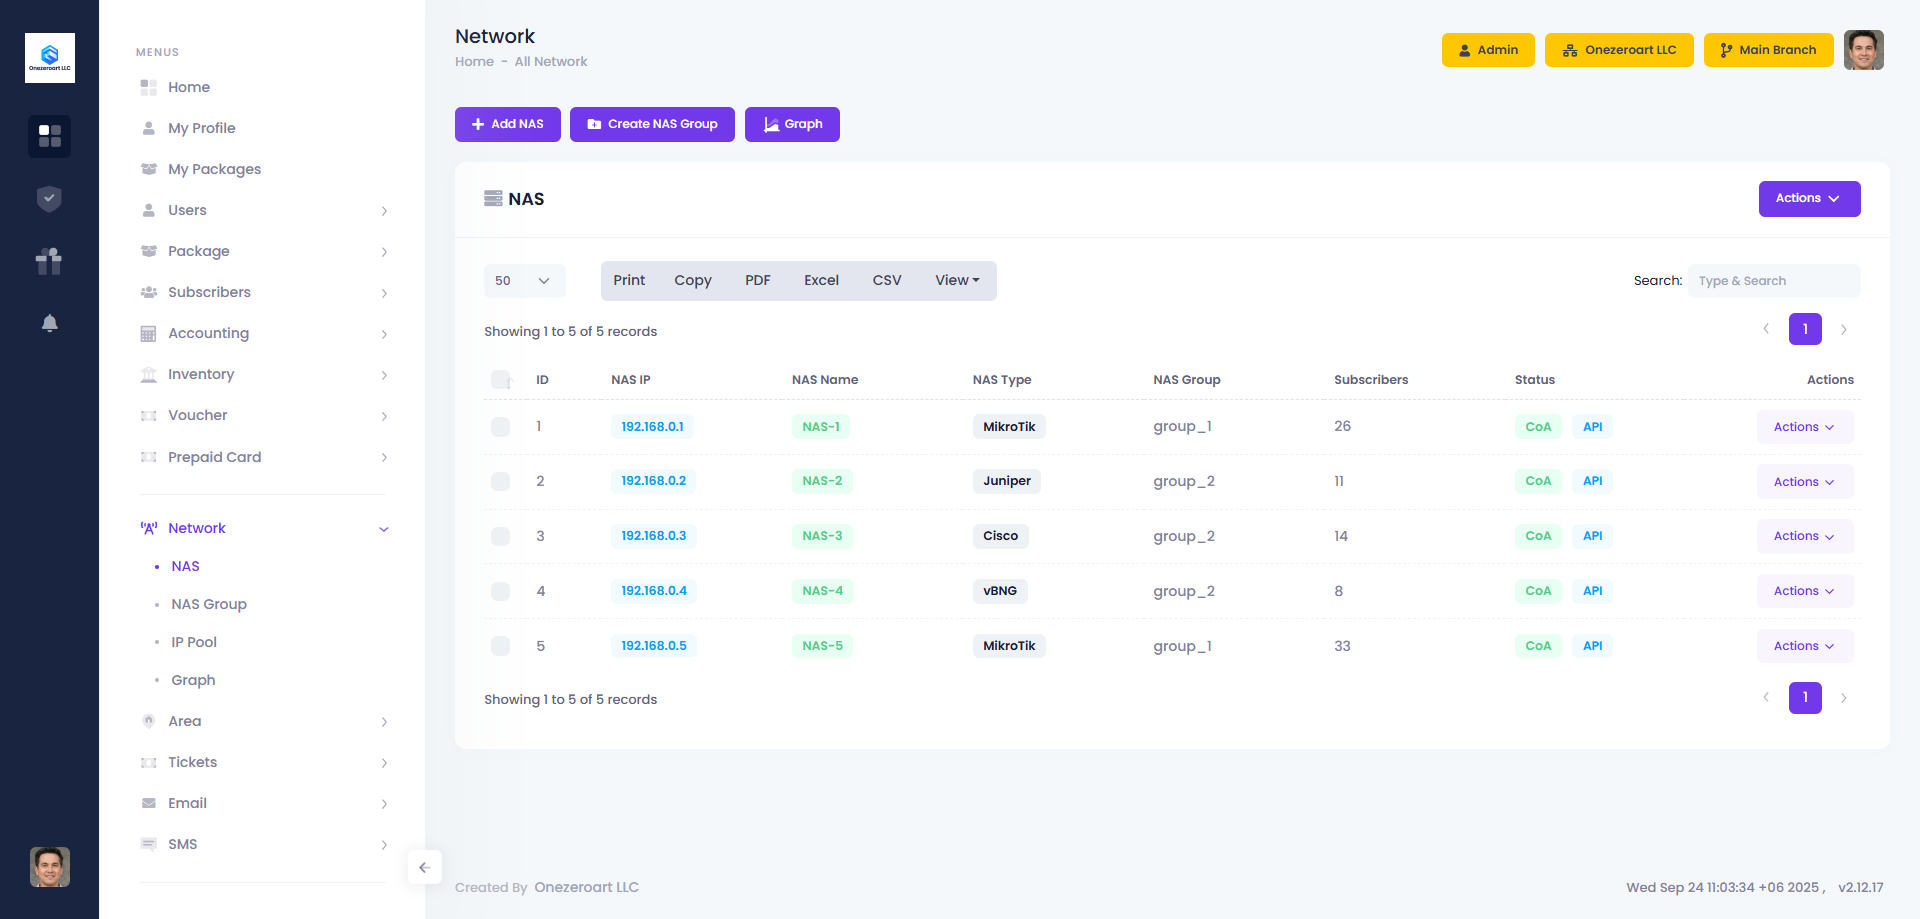
NAS
When adding a router in Zal Ultra, it will automatically restart the radius server, which may cause a brief downtime. Zal Ultra handles internal processes to ensure the router is added successfully to the radius server. Therefore, it is advised to avoid adding, editing, or deleting routers during peak hours. Do not modify or test router settings unless necessary. Only add routers that will be used in a production environment. Ensure that API is enabled both on the system and the router. Confirm that the router is active and that API is on by checking the instant NAS icon. The incoming port for the router must be enabled and set to 3799 for CoA requests, with the radius request and accounting ports set to 1812 and 1813, respectively.
Add NAS
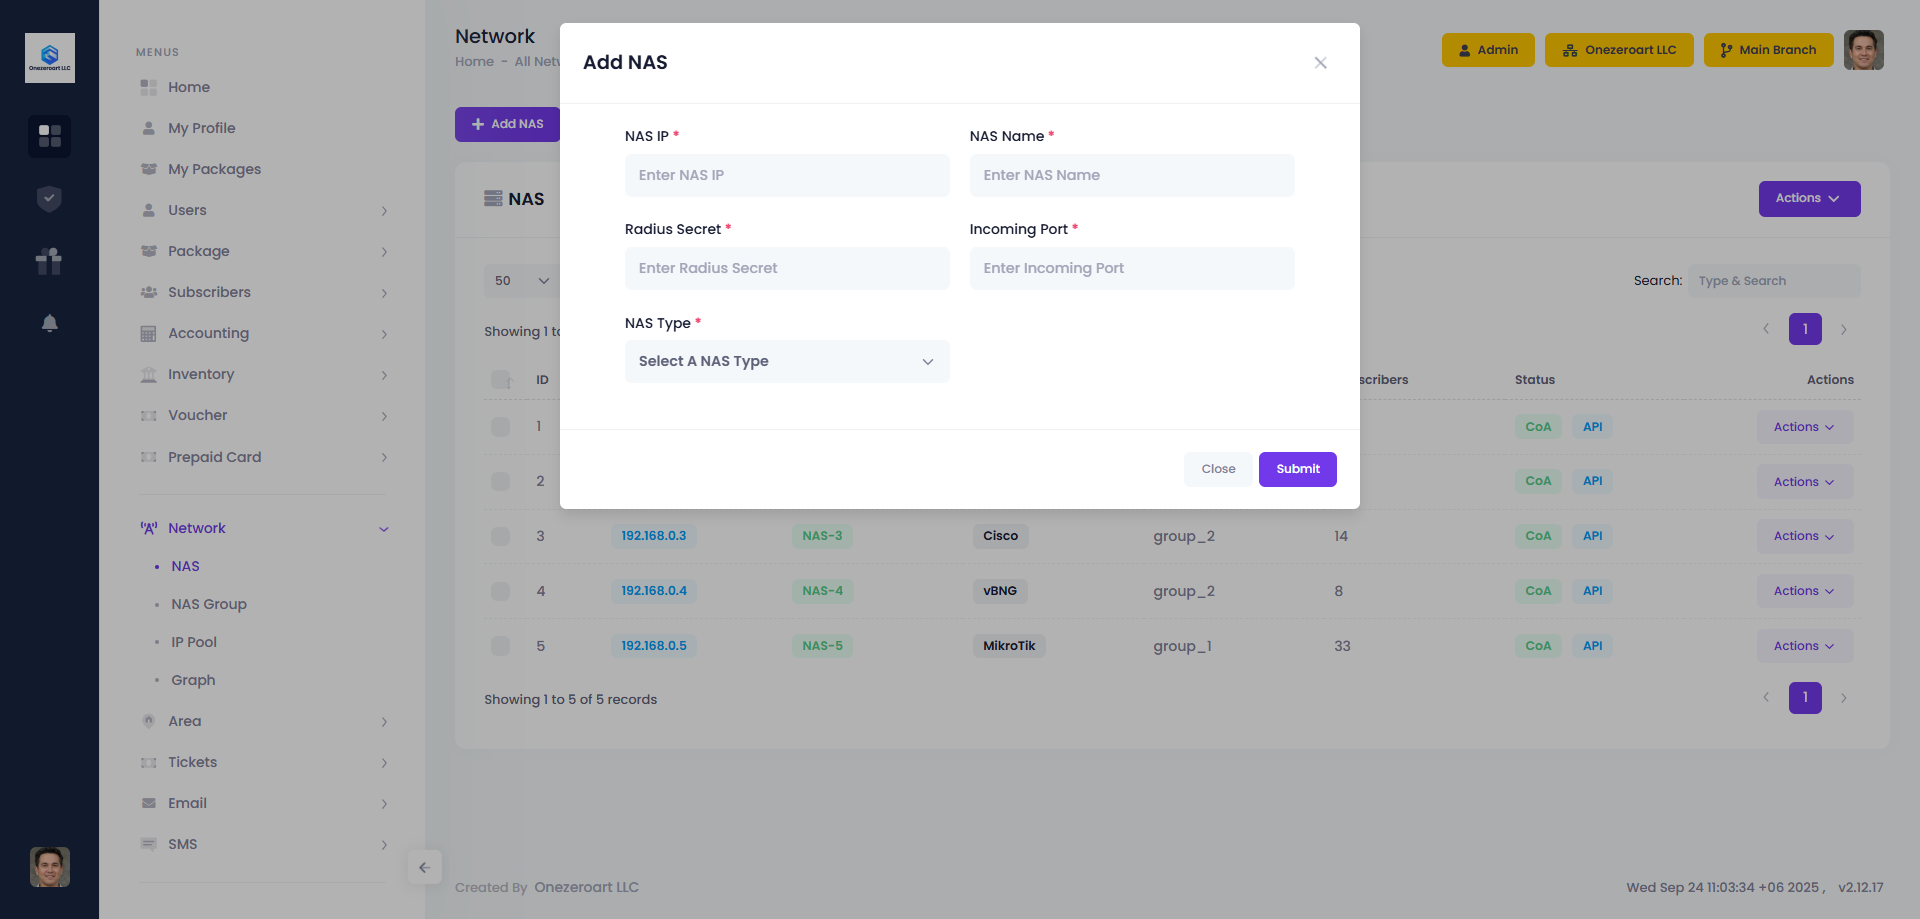
To add a NAS, click on the "Add NAS" button in the network section. Next, choose the "NAS IP," enter the NAS Name, RADIUS secret, Incoming Port, and NAS type, then submit. The NAS will be successfully added.
| Number | Attribute | Description |
|---|---|---|
| 1 | NAS IP | Insert NAS/Router IP address here without any block. Example: 192.168.0.100 |
| 2 | NAS Name | Give a name to your router so that it will be easy to identify later in the system. |
| 3 | Redius Secret | Insert your radius secret here, it is like a password and you must insert this same secret in your router radius section. |
| 4 | Incoming Port | You must enable API here if you want to see user graph and API user disconnection. |
| 5 | Nas Type | Insert your router username here. Make sure this user has permission on the router API. |